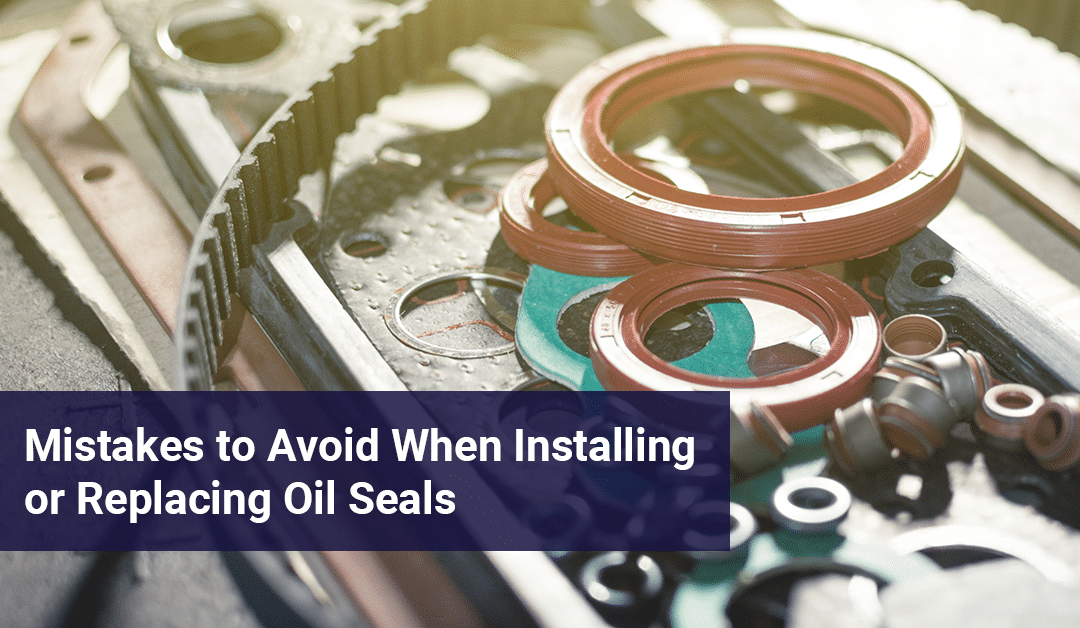
Have you ever failed to install or replace oil seals on your own and wondered what went wrong? Then, you might have overlooked a step or two during the process. Before we discuss the factors and measures to consider when replacing or installing oil seals, let us first define what an oil seal is and its importance.
Oil seals, also known as shaft seals or dirt seals, prevent lubricants like oil and grease from leaking along a rotating shaft. Oil seals are vital components of engines and mechanical equipment. Using oil seals prevents dirt, water, or any foreign matter from contaminating shafts and bearings in the rotary shift equipment.
There are several steps to consider when dealing with oil seals. Even DIY enthusiasts and mechanics commit common mistakes when installing or replacing oil seals. The following points can guide you on what not to do when working with oil seals.
8 Mistakes to Avoid When Installing or Replacing Oil Seals
1. Not following the instructions in the manual
People often disregard instruction manuals quickly since there’s this notion that we can do it by ourselves. However, oil seals are fragile pieces of equipment that require care and specific instructions to follow before and after usage.
Mechanical seals, like oil seals, are easily damaged upon installation. Taking the time to read the installation manual will provide you with the step-by-step information to install or replace oil seals properly.
2. Not using enough lubrication or using the wrong type
Various machines, like home appliances, have different components that, when combined, work together as a whole. Devices don’t last forever and will deteriorate eventually due to usage. Using machinery lubrication protects these machines from deterioration while maintaining their designed functions.
However, using the wrong type or not applying enough lubrication can lead to machine damage, equipment failure, and leakage. It’s best to identify the correct type of lubrication designed for your machine.
Primary examples of lubrication are mineral oils and synthetic oils. Minerals oils, often used in industrial applications, are typically applied to mechanical components like bearings, gears, slides, and threaded connections. This type of lubricant can also serve as the thermal fluid used in electric components like transformers and high-voltage switchgear.
While synthetic oils are used for house repairs of doors and hinges, this lubricant requires fewer oil changes. It works well in environments with extreme temperatures due to its oxidation resistance.
If you need mineral oils or synthetic oils for your project, check out Permatex Anti-Seize Lubricant. This mineral oil prevents galling, corrosion, and seizing, as well as ensures easier disassembly in large part due to its highly refined blend of aluminum, copper, and graphite lubricants.
As for synthetic oils, we recommend the Weicon Multi-Spray. Thanks to its unique formula and outstanding creeping capacity, it combines corrosion protection, water displacement, lubrication, conservation, and cleaning in a single product.
3. Not checking for damage before installing the seal
Before starting the installation, carefully examine the seal for any defects. Make sure there are no cuts or tears around the circumference of the sealing lip, which are the two layers found in the inner part of the oil seal.
Another thing to consider is the outer diameter of the oil seal. Any damage detected before installation disqualifies it from further usage.
4. Reinstalling a used seal
Never use the same seal for another project, as it may have defects like cracks or bubbles in the sealing lips from the previous usage. Going down this route will cause you more trouble compared with installing a fresh seal.
5. Working with unclean hands
Dirt on the seal face or oil from fingerprints can affect the integrity of the seal, while small particles cause wear and tear that destroys seal faces, causing leakage. Make sure to wash your hands before handling oil seals.
Don’t unpack seals unless they’re ready for installation. Once opened, clean the seal faces before installing them on your equipment to prevent contamination.
Also, ensure that your equipment, like workbenches and machines you’re installing the oil seal in, is clean. Having dirty equipment can impact the effectiveness of an oil seal.
6. Not allowing the oil seal to set or cure
Oil seals need sufficient time to set and cure. Prematurely using your equipment with the newly installed oil seal can jeopardize the seal’s integrity, possibly causing damage to your machine. Refer to the instructions given to know the timeframe allotted for seals to set and cure.
7. Cost-cutting
Investing in high-quality seals will benefit you and your machine in the long run. It will be more costly to replace an oil seal due to purchasing cheaper alternatives constantly. Not to mention, the efficiency and quality of low-cost oil seals may not be reliable.
8. Not securing the seal
Failure to properly install an oil seal can cause malfunctions. Factors like tapping a seal into place may cause its spring to become tilted or misaligned in the bore. Consider using a solid adhesive instead and applying it around the spring’s surface to prevent it from loosening.
One method to identify improperly installed seals is checking for rough shearing of the rubber. To fix this, align the installation tools before positioning the seal in place.
Seal Properly, Seal Effectively
Oil seals serve an integral part in preventing leakage and contaminants from clogging up various engines, pumps, and pipes. Installation and replacement of oil seals can be a daunting task. However, with the proper knowledge, the results can be good.
If you are looking for a reliable oil seal supplier, consider checking out Simplex. Check out our shop where we provide a varied selection of oil seals to help you find the perfect item to use.

