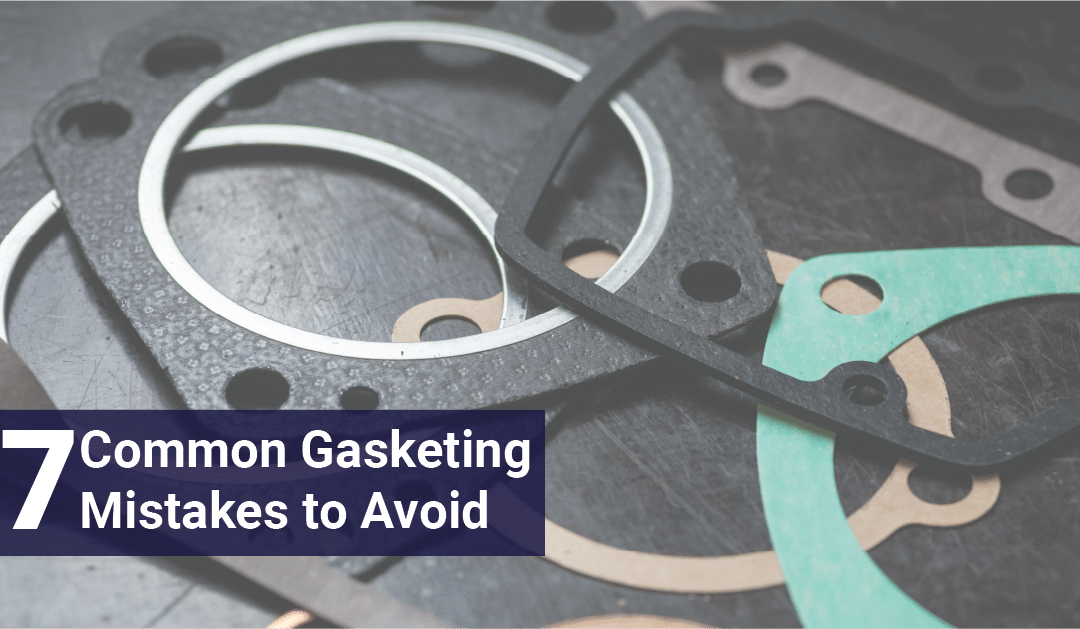
For engines to work at peak efficiency, all components must be in order. There are no major or minor parts when it comes to the motor vehicles under your care. If one element of the engine design becomes faulty, it will eventually compromise other elements and result in poor engine performance. Case in point: gaskets.
Among other signs, you know you have a failing gasket if you start to lose coolant even when there’s no visible leak. Should this happen, your dashboard’s Check Engine light will activate. In worst-case scenarios, your cylinders could malfunction and the rest of the engine might overheat.
Proper gasket application is crucial. Gaskets play a vital role in keeping your vehicle running smoothly. Gaskets serve as a physical barrier between two engine components, thus preventing unnecessary friction. They also hinder the accumulation of dust, dirt, gases, fluids, and electrostatic discharges that could derail your vehicle engine’s potential.
Gasketing is a process that involves application and sealing. If poorly performed, your engine will be doomed to failure. To prevent that from happening, you must avoid common gasketing mistakes. Here are some of them.
1. Using a gasket maker to replace a head gasket
Modern flange sealants and gasket makers are quite flexible. They can substitute conventional, multi-material, or formed gaskets. However, if you need a head gasket replaced, you cannot rely on these modern gasket makers. Your best bet will always be the OE-style gasket. It’s the most reliable option in terms of withstanding extreme temperature and high pressure.
2. Applying too much sealant or gasket maker
You shouldn’t overdo the application of gasket maker and sealant. You must stick with just the right amount. The rule of thumb is 1/8 in. The most obvious risk of overapplication is the possibility of clogging. Surplus sealant might, for example, find its way to the oil pickup’s screen, which will wreak havoc on engine performance, later on causing damage.
Keep in mind that once you tighten up your assembly, the layer of gasket maker and sealant you apply will thin over the surface. All areas will be covered.
For reliable gasket makers and sealants, check out Permatex Gear Oil RTV Gasket Maker and Permatex Form-A-Gasket Sealant, which are available at the Simplex online shop.
3. Insufficient cleanup before gasket application
Both surfaces requiring gasket application should be adequately cleaned. Get rid of residual glue or adhesive. Any leftover fragments from the old gasket must be removed, too. These impurities might cause clogging, among other risks.
To clean the surfaces, use either a brush or scraper made of nylon or plastic. Avoid using a razor blade or a knife. These tools could cause scratches, which can later result in a fluid or gas leak.
Look into bolt holes. They should be free of dirt. Oil or coolant might accumulate in blind bolt holes too, so check those as well. Applying a gasket maker and sealant without this preparation might lead to your engine not hitting the correct torque. There’s also the risk of cylinder block cracking.
4. Using the wrong type of gasket maker
Flange sealants and gasket makers are made with strict product specifications based on their purpose. Common sealant and gasket requirements include water-glycol resistance, high-temperature resistance, synthetic oil resistance, and O2 sensor compatibility, to name a few. One type of gasket might be best for sealing gas while another’s perfect for high temperatures.
The first step to ensuring effective gasket application is knowing what your goal is and choosing the right gasket maker for the job.
5. Failure to check for damage
This is another crucial step in the process. Failure to do this can cause you to waste time and resources in repair. Check the casting for warpage. If there’s too much warpage, your gasketing won’t cut it. The warpage needs repair before any sealant can do its job.
For cylinder block gasketing, look into deck surface damage. This is usually caused by abrasive cleaning tools like scrubby pads. This type of damage may cause gas or fluid leakage.
6. Not allowing the gasket maker and sealant to sufficiently set and cure
Do not rush running your engine post gasket and sealant application. Follow product instructions in terms of how much time they require to set and cure. Usually, it takes two hours for the gasket and sealant to set. On top of that, you need to wait at least 24 hours for the application to fully cure.
Read: 5 Tips for Replacing Motorcycle Gaskets and Seals
7. Impractical cost-cutting
You might be tempted to purchase a more affordable head gasket for an application requiring multi-layered steel (MLS) gasket. This will cost you more in the long run, as the gasket application will deteriorate fast. It’s best to follow the manufacturer’s recommendation in terms of gasket product specifications required for your engine.
Gasket like a pro
Whether you’re a professional mechanic in charge of other people’s motor vehicles or a motor vehicle enthusiast who favors DIY maintenance and repair, you need to learn how to gasket the right way.
You do not want your clients to go back to your shop unhappy with the service you provided, which means bad business. Now, if you’re a DIY-er, you do not want your own vehicle to suffer engine failure because you committed a perfectly avoidable mistake in the gasket application.
Be wary of the common gasketing mishaps included in this list. Avoid them like the plague, and your engine’s going to be just fine.
Should you need gasket replacement, check out Simplex’s online shop. Our brand is a premier supplier of industrial-grade gaskets and sealants as well as an array of engineering parts required for any type of mechanical project.

